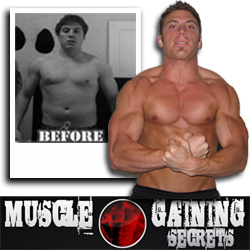
When it comes to the question of how to gain muscle, there are many things you must know and do. But, often times what is more important than what you should do is what you shouldn't do. With that in mind here are five muscle gaining mistakes you should avoid at all costs.
- Training Too Often- In order to grow you must provide your body with the optimal stimulus and then back off and allow it time to rest and recover. Without ample rest time you will never grow to your maximal potential. For this reason I recommend that you don't train with weights more than 3-4 days per week.
- Training Strictly For the Pump- Far too often I see skinny guys in the gym pumping away 10-15 rep sets with weights lighter than my grandmother would use. Yes, high volume training leads to a great pump but a great pump does not always lead to muscle growth. You can get a pump by treading water for a few minutes but everyone knows that won't turn you into a mass monster any time soon. Chasing the pump should only be a small concern in your workout; after you have gotten your more productive work out of the way.
- Not Cycling Your Training Intensity- Overzealous skinny guys love to work themselves into the ground. They figure the harder they work the quicker the gains will come. The problem is that when you constantly train to failure you will eventually burn out your central nervous system and this will greatly slow down your recovery and thus the rate at which you build muscle. If you want to make long lasting gains you have to back off once in a while and give your body a break. After a period of reduced intensity you can ramp back up again and repeat the cycle.
- Using the Wrong Exercise Order- One thing that is often overlooked by those interested in how to gain muscle is exercise order. Always start your workouts with the most demanding exercise. So if you are doing a clean or any other form of explosive lift or jump this exercise would usually come before squats or chin ups. If you are not doing explosive lifts or speed work, the biggest compound exercise should almost always come first. Therefore a deadlift would usually come before a chin up. Also, the heaviest, lowest rep sets should be done early in the workout and the higher rep work should be done at the end. There are exceptions to this rule and times when breaking it could actually be quite beneficial but for the most part his is how you should plan your training.
- Not Using a Training Journal- If you want to get bigger and stronger you absolutely must record each and every workout you do in some type of notebook or training journal. This way you can know what is working and what isn't and you can also measure your progress over time. The most important element of the training journal is that it gives you a quantifiable goal to beat every time you enter the gym. There is no way anyone (unless you have a photographic memory) can remember all of the details of every workout they do. So without a record of it you are just guessing and never know if you are doing more or less than the previous workout. And if you want to get bigger and stronger you had better be doing more; be it weight, sets or reps
Now you know how to gain muscle fast by avoiding those five deadly mistakes. Train hard and stay dedicated; you will be outgrowing your wardrobe before you know it.
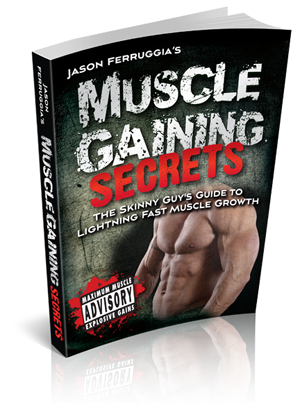
More Information About Muscle Building Click Here
Source 4 Foods Never To Eat


 Becoming a top affiliate marketer is hard, especially when you've got endless competition snooping in on your methods. The affiliate marketing industry is tough, and without guarding your secrets it's easy to see them spill out for everyone to apply, mastermind, and earn from. There's nothing more disappointing than seeing your hard work pay out for someone else, which is why it's absolutely essential to clock all of your affiliate links.


